So, your boxes of equipment have finally arrived at your doorstep like Christmas presents under the tree.
Giddy with excitement, you put your technician gear on and start unboxing each one. You look at the contents and suddenly realize you don’t know where to start. Or how to start.
No worries! With this easy-to-follow guide we made for you, you will feel almost like an expert as you build your system. We have detailed the equipment you’ll need and shared advice along the way, so setting up will be a breeze.
Equipment checklist

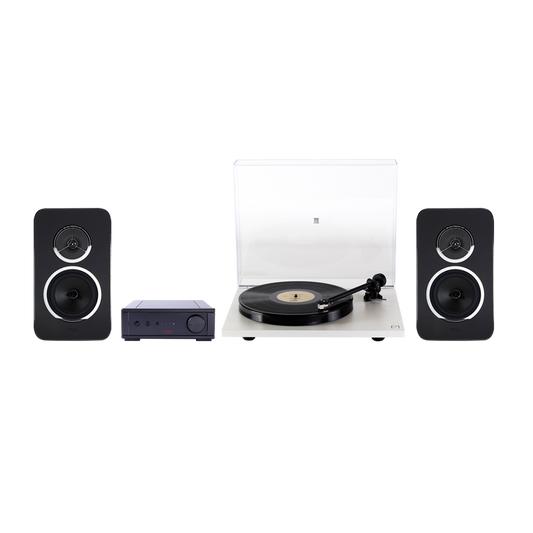
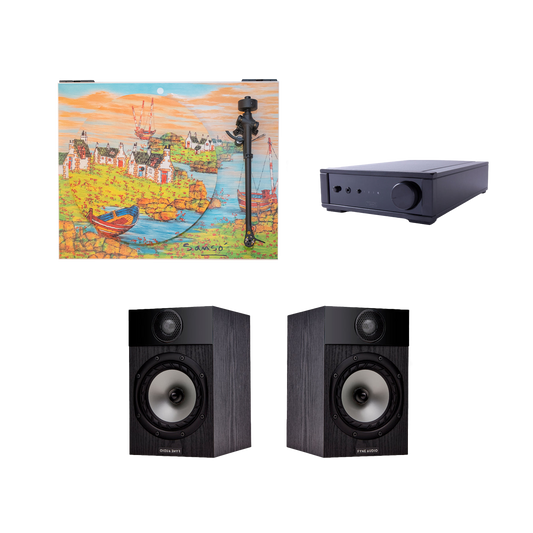
The System One Setup
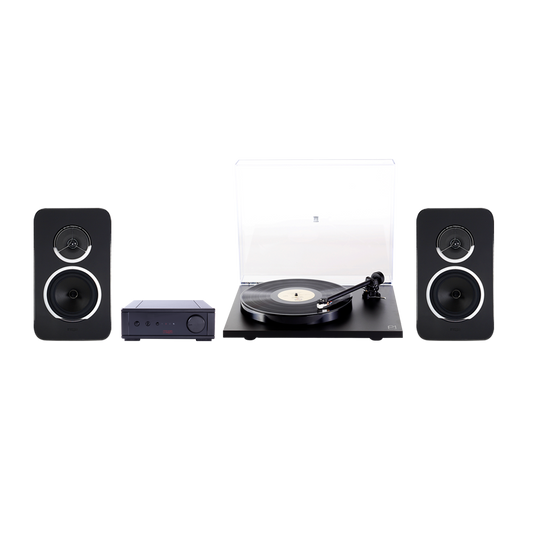
For this guide, we use the Turntable + Amplifier + Passive Speakers Setup because its steps are flexible and can be adapted to other setups.
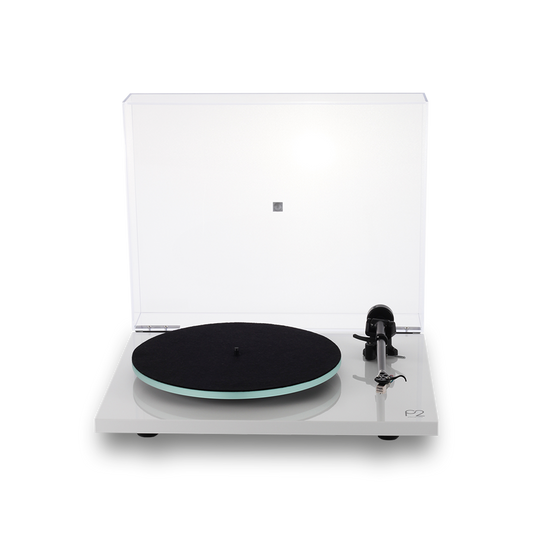
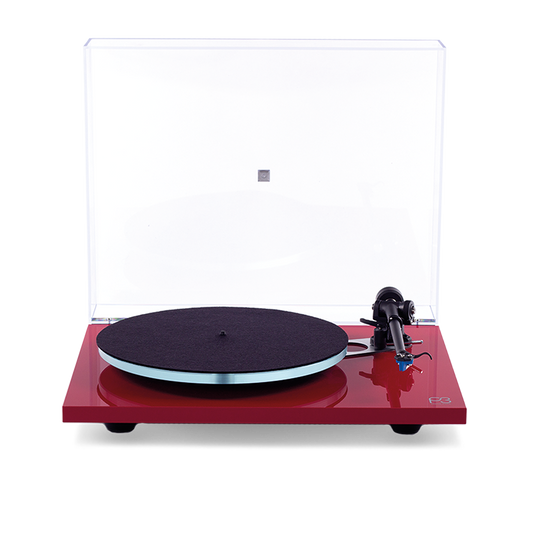
- Rega Planar 1 turntable
- Rega io amplifier (with a built-in phono stage)
- Rega Kyte speakers
- Rega Duet Speaker Cables to connect your amplifier to the speakers
All the items above are found in the Rega System One.
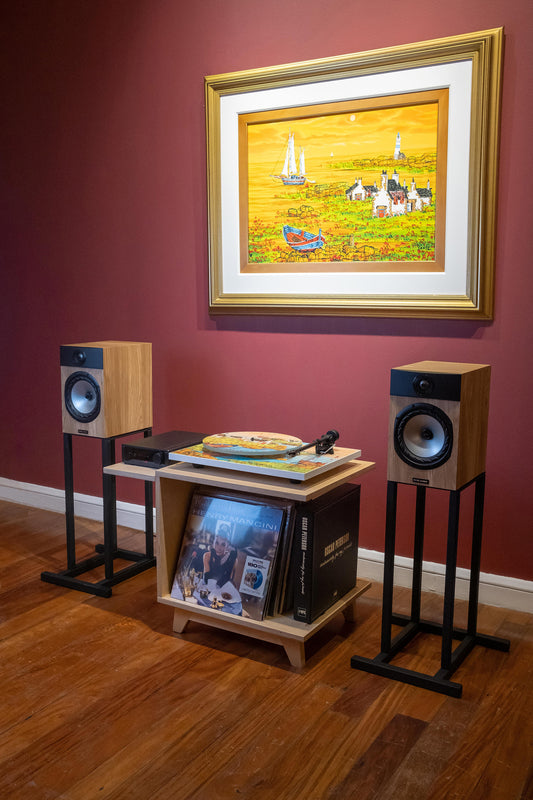
Setup tips
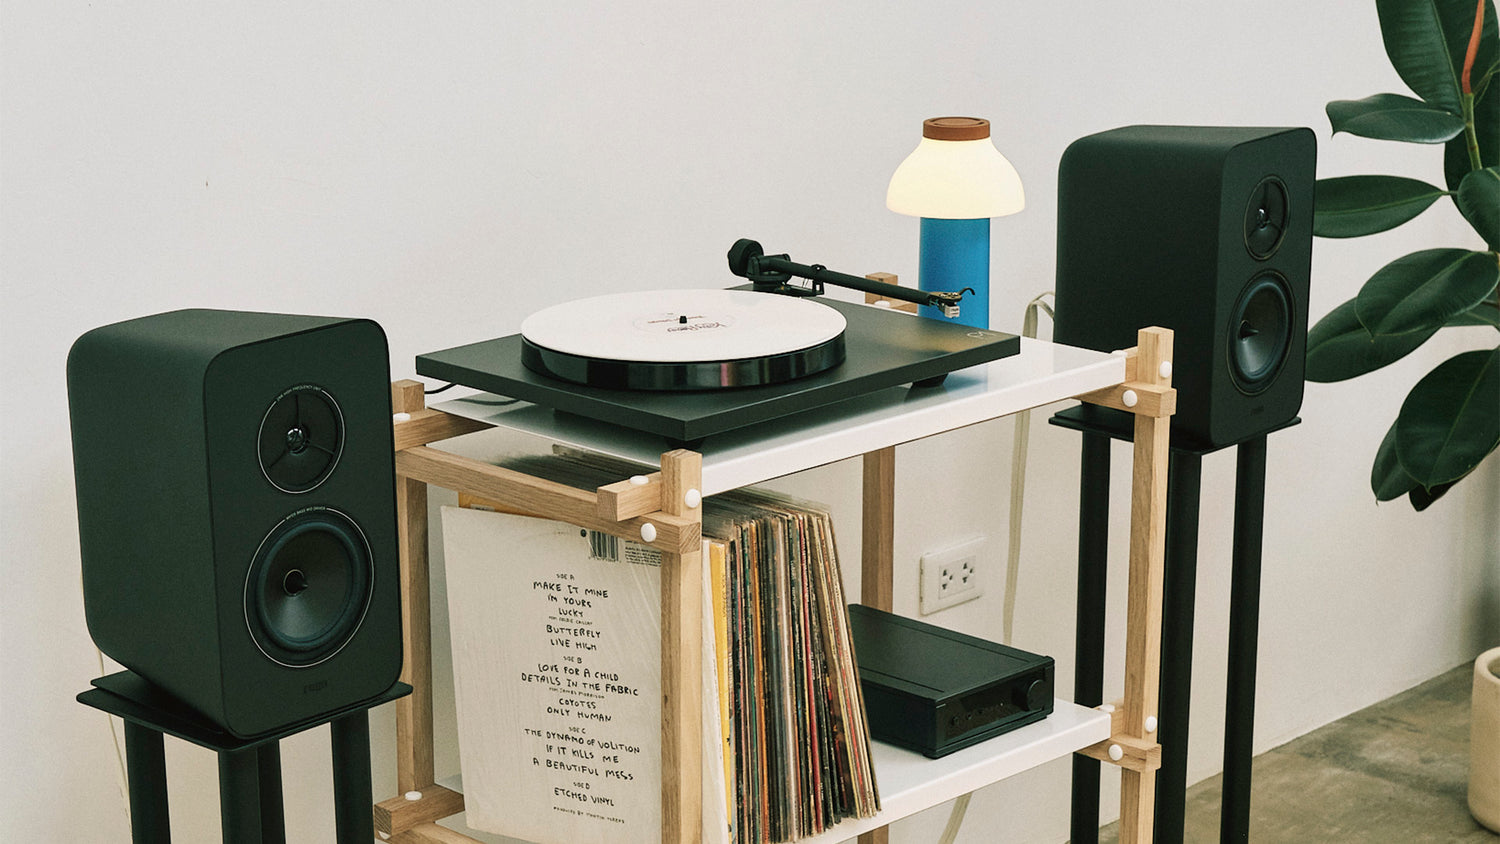
- Place your turntable on a flat, sturdy surface. Do not place your speakers on the same surface as your turntable. This will prevent skipping and machine vibration when playing your records. It will also help preserve both the machine and vinyl in the long run.
- For optimal sound, place your speakers on speaker stands. These metal bars have been configured to optimize music production and minimize vibration. No speaker stands? No problem! Put your speakers on a different surface and a little further away from your turntable.
- Keep your amplifier away from the tonearm. This avoids magnetic attraction.
- Label your speaker cables to avoid confusion. From your point of view while facing the setup: The left cable must connect the left speaker to the left speaker input of your amplifier. The same will follow for the right cable with the right speaker. (Or, to keep it short and simple, left cable → left speaker → left input)
- Your speakers should follow a triangle formation with you. The speakers make the base of the triangle, and you or your listening chair/area should be at the top of the triangle.
How to set up your system
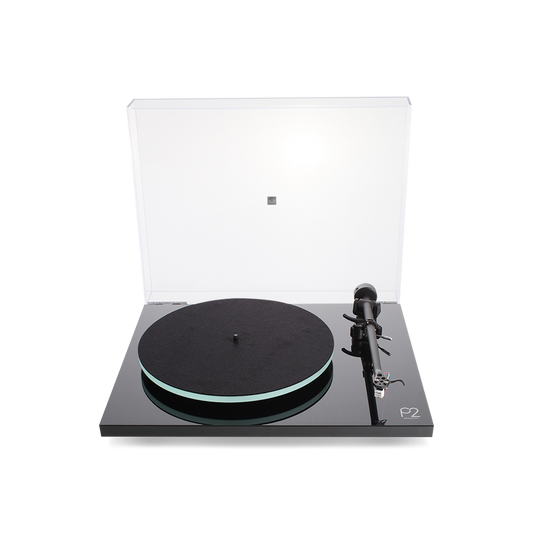
Step 1: Set up the turntable after unboxing
Drive belt

Our vinyl players are Rega belt drive turntables, so there’s not much fuss here!
- Disassemble the turntable by removing the protective mat and platter of the spindle.
- Take out the cardboard guard below the sub-platter and on the drive belt.
- Set the drive belt to your desired speed (33 ⅓ RPM is the most common).
- Put back the mat and platter.
Tonearm

The next step is balancing the tonearm.
- Safety first! Turn off and unplug your turntable to ensure it won’t suddenly operate during assembly.
- To balance the tonearm, attach the counterweight (the donut-like weight) at the back of the tonearm and push until it is secure.
- Remove the red tape and unlatch it from its lock. You can now lift the tonearm and place it on the platter.
Note: Do use the cue level to lift your needle onto and off the vinyl.
Cartridge

Our Rega turntables come with factory-fitted cartridges made especially for the Planar 1 model. So, there isn’t much to do except gently remove the plastic from the stylus guard.
Our sound advice:
- Take extra care of your cartridge! The needle on its tip is the most sensitive part of your turntable. Make sure this always stays protected.
- Keep your plastic stylus guard. You will need your stylus guard later on as you move your turntable from one location to another.
Step 2: Attach the turntable to the amplifier

Rega io Amplifier
Because the Rega io has a built-in phono stage, you only need to use an RCA cable to connect your turntable to the amplifier. The red knob goes to the red hole, and the white knob to the white hole.
Our sound advice:
- For a better experience, make sure that the volume of the amplifier is at the lowest number. Once the turntable’s needle is placed on the record, gradually increase the volume to slowly build up the sound reproduction.
- If your turntable does not have a built-in phono stage, then you would need to plug the turntable into the amplifier's phono input. The io amplifier has a built-in phono stage.
- If neither your turntable nor amplifier does not have a built-in phono stage, you will need to avail of an external one like the Fono Mini A2D.
Step 3: Plug, play, and enjoy!

Rega Kyte Speakers
A few more steps until you enjoy the otherworldly experience of your system! Use the speaker cables to connect your amplifier to the speakers.
To recap:
- Left cable → left speaker → left input
- Right cable → right speaker → right input
How to play a vinyl record
- Turn your turntable on (and your other components if switched off).
- Place your record on the platter.
- Switch on the rocker knob below the turntable to start spinning your platter.
- Raise your tonearm’s cueing lever and place the tonearm on the elevated cueing board on top of the record.
- Carefully lower the cueing lever until it gently drops and the stylus settles on the microgrooves of your record.
- Do not lift or drop your tonearm directly on the vinyl. Use the cueing level to gently raise or lower the needle off and on the vinyl.
- Sit back and enjoy listening to your music!